Pages


Thursday, January 30, 2014

Why I Print Before I Share Online

Before I share a photograph online, I print it and I make sure it's everything I want and think it can be.


Once I have a print in hand, opportunity to evaluate the photograph in a new "light" opens which often leads to discovering additional ways to improve or it leads to new creative options for me. I find that a printed image is sometimes a better medium for testing the overall strength of an image, both from a technical standpoint and from an aesthetic perspective as opposed to just working with my images on the screen.
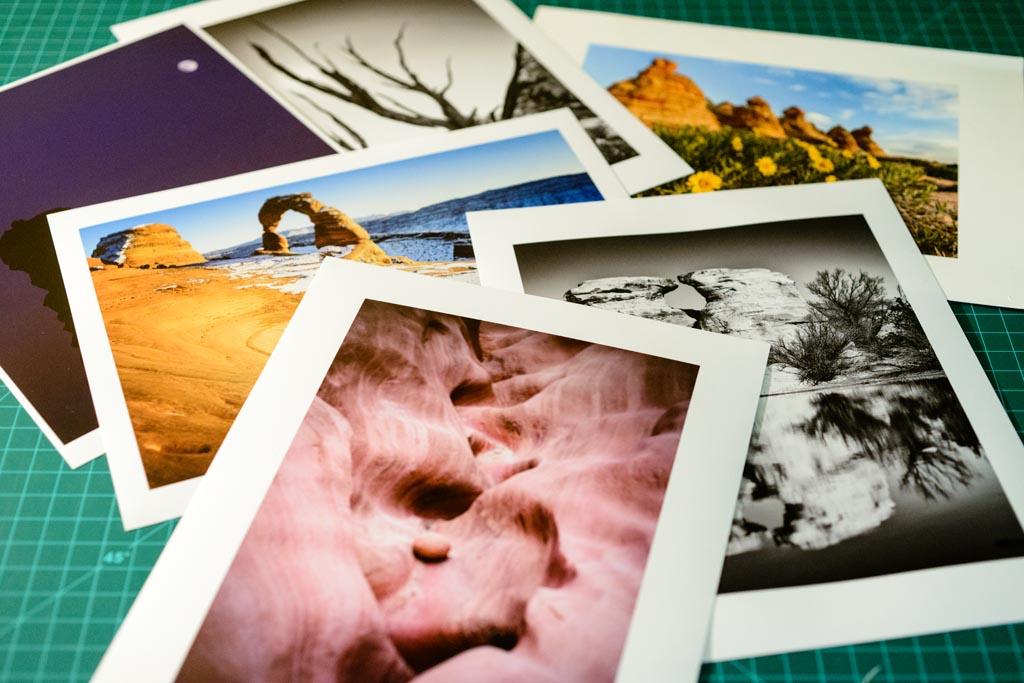

Comparing prints
With a print that I physically hold in my hands, the decisions I made for such things as the brightness, level of detail, the color saturation and the crop of the photograph, may be re-evaluated but now from a new viewpoint. With a print, I will be in different lighting conditions. I will hold it or display at different distances from my eyes. I'll even view it in a different setting such as from a comfortable couch or chair instead of always in front of the computer monitor. When I view my printed image, I free myself from all the distractions I face when I only view the image on the computer.  True, I can view an image full-screen and eliminate visual items on the screen but I am still constrained to the same viewport and setting where my computer is situated. A printed image is something that I may now take with me somewhere else and step away from all of those distractions to allow myself to evaluate the photo with a renewed focus.


What I Do


After I process an image on the computer that I intend to share, I'll then print it, and then ask myself these questions:

  • Is the print the "right" size?
  • Is this the "right" crop?
  • Is this the "right" orientation?
  • Is the print bright enough?
  • Is there enough detail?
  • Are the colors "correct"?
  • Am I engaged and captured by this?

Size


More effective smaller
rather than larger
Some images are "stronger" when they are printed and viewed at larger sizes. For example, wide vistas are usually best larger to give the sensation that the viewer could almost step into the photograph. Other images are more effective when printed smaller. For example I often find that many abstract photos or photos of intimate details are more potent when you condense them into a smaller image that is more easily "digested" by the eyes and the mind. Neither of these are hard and fast rules but by printing your image, but I do find that a photo is more effective at a specific size rather than sharing it at or near full-resolution all the time. I like to say to myself, just because such-and-such site online allows images up to resolution X doesn't mean I have to share all my photos at resolution X.


Crop & Orientation


Cropped to Square (1:1)
In addition to size, both crop and orientation are two more physical attributes of the print that may help in determining a more meaningful image. I'll ask myself with regards to the crop of an image, am I showing enough or too little of the important elements in this photograph? Could the image become more effective if the crop ratio were to change? Sometimes the orientation of an image could be changed to improve it. This is sometimes the case with abstract photos and photos of intimate details where elements such as the sky, the horizon, or people are not present so altering the orientation of the image won't cause additional distractions.


Brightness, Color, and Detail


tilt-shift blur added to draw
more attention to the real
"detail"
I can quickly tell if a print is engaging and captures and holds my attention. If I'm not captivated, qualities such as brightness, detail, and color are sometimes at fault here. These qualities can also be easily adjusted and the image re-printed. By going through this iterative process, the feedback I receive and new creative decisions I make from it, all become part of the discovery of how I may further improve my image.


Many times what looks good on my screen isn't as engaging as a print. Remember, the computer monitor is back-lit and bright and makes everything almost "glow" while a print is lit by reflected light only so it doesn't have the same presence. I do anticipate this and adjust for this with my prints. However, even after compensating, sometimes I find things such as the foreground is still too dark or the colors are too saturated and these actually become a distraction. Later, I find that some of the adjustments I made for a better print are also some of the same adjustments I make to improve the image that I intend to share online.


Image Sets


Contact Sheet
Another tool I use is to print one or more images together and evaluate them side-by-side as a set. I like to make diptychs and triptychs; that is two or three photographs arranged together and designed to be viewed as a whole, not individually. Sometimes I even print contact sheets of nine or twelve images on a page. Now this may seem like a contradiction regarding what I said earlier about eliminating distractions, however, the purpose of this is to see if in this new presentation, do any of the above questions have new answers?


When an image is stacked up against one or more other images, the idea of a collection comes into life and either their similarities or their differences compliment or detract from one another. For example, the crop of an image may work more effectively when it matches the crop of the other images I group it with. Then when viewed alone, the crop helps to make the image even more powerful. Another example I often find is with regards to the colors of an image. Decisions on either color saturation or color cast become more clear once an image is grouped and compared with other images in a set.


Pace


There is one final benefit to this practice. The benefit of time. Printing forces me to slow down my workflow and spend more time with my image. Many times the rush of processing an image that I really love and then share online actually prevents me from realizing its full potential. A slower pace to processing and sharing an image online allows my sub-conscience to fully digest and process all my feelings and memories about the image. That niggling voice in the back of my head telling me there is something not quiet right about an image I've already shared tells me I didn't give myself enough time to fully process it.


Only after I go through this process do I finally reach the point where I am satisfied and then I share the photograph online. By slowing down my pace, I give myself and my work ample time to flourish. Of course once I process and share an image, that doesn't mean I can never go back to it at some time and process it again differently. However, I find that as time moves on and my photography progresses, re-working my older work never becomes a priority as I'm too engaged in and focused on what I am producing now, rather than what I produced in the past. So by spending the time now, I never have to worry about leaving something behind and undiscovered with an image.


Last Thoughts

Printing has become such a valuable part of my workflow that I even if I don't intend to share something online, I still incorporate printing as part of my process. Printing has helped me bridge the gap between what I thought I felt and saw when I made the photograph with the camera to the processed image which is supposed to describe those same feelings and thoughts to a viewer. It has helped me become a better photographer. I think it can help everyone.

Sunday, January 26, 2014

Epson 4900 Maintenance Tank Chip Resetter

My Epson Stylus Pro 4900
I have a love-hate relationship with my Epson Stylus Pro 4900. Yes, it produces amazing prints on un-ending choices of paper, however...she clogs.


One of the downsides of the clogging is how quickly part no. T619000, the waste/maintenance tank, fills up with wasted ink that I use to unclog the printer. Now T619000 isn't that expensive; $16.99 US last time I checked online. However, its a big hunk of plastic that seems like such a waste to have to dispose of. Why couldn't there be a way to re-use it and perhaps "save" the environment just a little by not ending up in the local landfill? Well now there is a way...


Chip Resetter
I found a place online that sells a chip resetter for the T619000. The cost is roughly four times more than the cost of a new tank but long-term this should save me both money and the environment.


Re-using your T619000 with the chip resetter is easy. The instructions with the resetter are very simple and you should follow them precisely.

The instructions state you need another new and empty (i.e. un-used) T619000. This is true so don't forget that part. Also the instructions say to make sure the tank you want to re-use with this process isn't past the point where your printer is giving you the warning to replace it. Once you go past that point, you won't be able to reset the chip using the chip resetter. When you go to reset the chip, if it flashes green, you are good. If it flashes red, either the chip is bad or it's past the point where it can be reset.


So using the chip resetter is easy, here are a few other quick tips about the process...


You'll have to do something Epson explicitly forbids you to do and its depicted clear-as-day on the waste ink tank...

Go ahead, be a rebel

You have to peel away the top seal and open this little guy up. The plastic/mylar-like top is glued on here very well but with a little effort and strength you should be able to peel it away without completely destroying it. Go ahead, open her up. I don't peel it completely off. This is so I can use it to close it back up later.


What you'll find inside is just a bunch of absorbent cotton-like material that should be some-what saturated with ink. Pull all of this out. Don't worry about cleaning the inside unless there is some ink pooling in the bottom. I've never seen this happen though.

This is all that is inside?


Replace the inside with your absorbent material of choice. I simply use a bunch of paper towels folded and bunched up nicely. Just get it all to fit inside snuggly and you'll be fine.

Paper towels


Now, if you didn't peel the original top all the way off, you can re-use that to close and seal the tank back up. I use packaging tape from a tape gun/roller to seal it back up. Don't worry, it doesn't have to be an airtight seal.

Tape it back together


Now you ready to reset the chip using the chip resetter. Remember, if it flashes green when its done, you are good-to-go. If it flashes red, you can't re-use this tank. Maybe its better if you do that first before opening the tank up and replacing the material inside just in case the reset does not work for you.


Remember to put a new, un-used T619000 into the printer first before putting in the tank you just reset. This is part of the process to "trick" the printer into thinking the tank you are re-using is also new and empty.


Once you put the re-used tank into the printer, it should show that its empty and ready for a fresh round of ink to waste!

Ready for more waste ink


I didn't wear gloves through this process so I got a little bit of ink on my hands. Not to worry though, it washes off with soap and water easily!

Ink on hand washes off easily